
In many cases, you may receive a document from your colleague or classmate, or you want to edit a PDF file from your iPhone on Mac, or you want to free up more space on your iPhone. When you want to manage your iPhone files, iTunes would be the first application that you may choose. But iTunes isn’t able to do anything you want. As you want to transfer any files from iPhone to Mac, here are several ways for you, and you can choose the best one to try.
Contents
How to Transfer Files from iPhone to Mac via AirDrop
If you want to transfer a few files from iPhone to Mac, you can use AirDrop. It is very convenient to transfer files between iOS and macOS.
- Select the file on your iPhone, and then tap on the “Share” button.
- Select your Mac name in the AirDrop section. The file will begin to transfer to your Mac.
- You will be asked to receive the files from the AirDrop sharing on your Mac. After you click “Accept”, the files will be transferred in a few seconds.
Note: If you cannot find your Mac in the AirDrop section, you should enable the AirDrop on your Mac first: Go to Finder, and select Airdrop on the left bar of the Finder. Then turn on Bluetooth and Wi-Fi.

How to Transfer Files from iPhone to Mac using iCloud
If you want to transfer files from iPhone to Mac using iCloud or iCloud Drive, you can follow the steps below.
Step 1. Log in to the iCloud account on your iPhone and Mac with the same Apple ID.
Step 2. Go to Settings > Apple ID > iCloud, and make sure you have enabled iCloud Photos and iCloud Drive on your iPhone.

Step 3. Go to Apple icon > System Preferences… > iCloud, and make sure to turn on iCloud Photos and iCloud Drive on your Mac.

Step 4. Now you can add the photos and files into the Files app on your iPhone and you can browse the files syncing from your iPhone on your Mac.
You can locate the files in the Finder > Documents folder under iCloud.
Note: For transferring the photos and videos from your iPhone, you need to switch on “Upload to My Photo Stream” on your iPhone and “Download and Keep Originals” on your Mac so that the photos and videos will be automatically uploaded to your Mac.
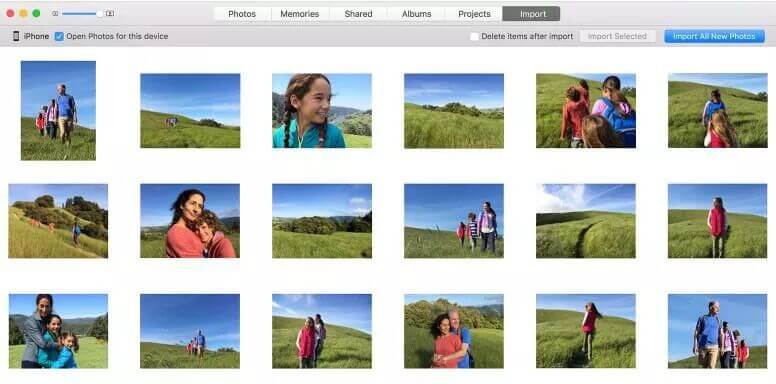
How to Transfer Media Files from iPhone to Mac using Photos App
As you want to transfer photos from iPhone to Mac, as well as videos, you can export them to your Mac using the Photos(iPhoto) app. Photos app is an original app of macOS. It helps you transfer media files from iOS to macOS.
- Connect your iPhone to your Mac, and then the Photos app will be launched automatically. If not, you can launch Photos manually.
- After launching the Photos app, you can browse all the media files (photos and videos) on your Mac. You can select the media files you want and transfer them from iPhone to Mac.
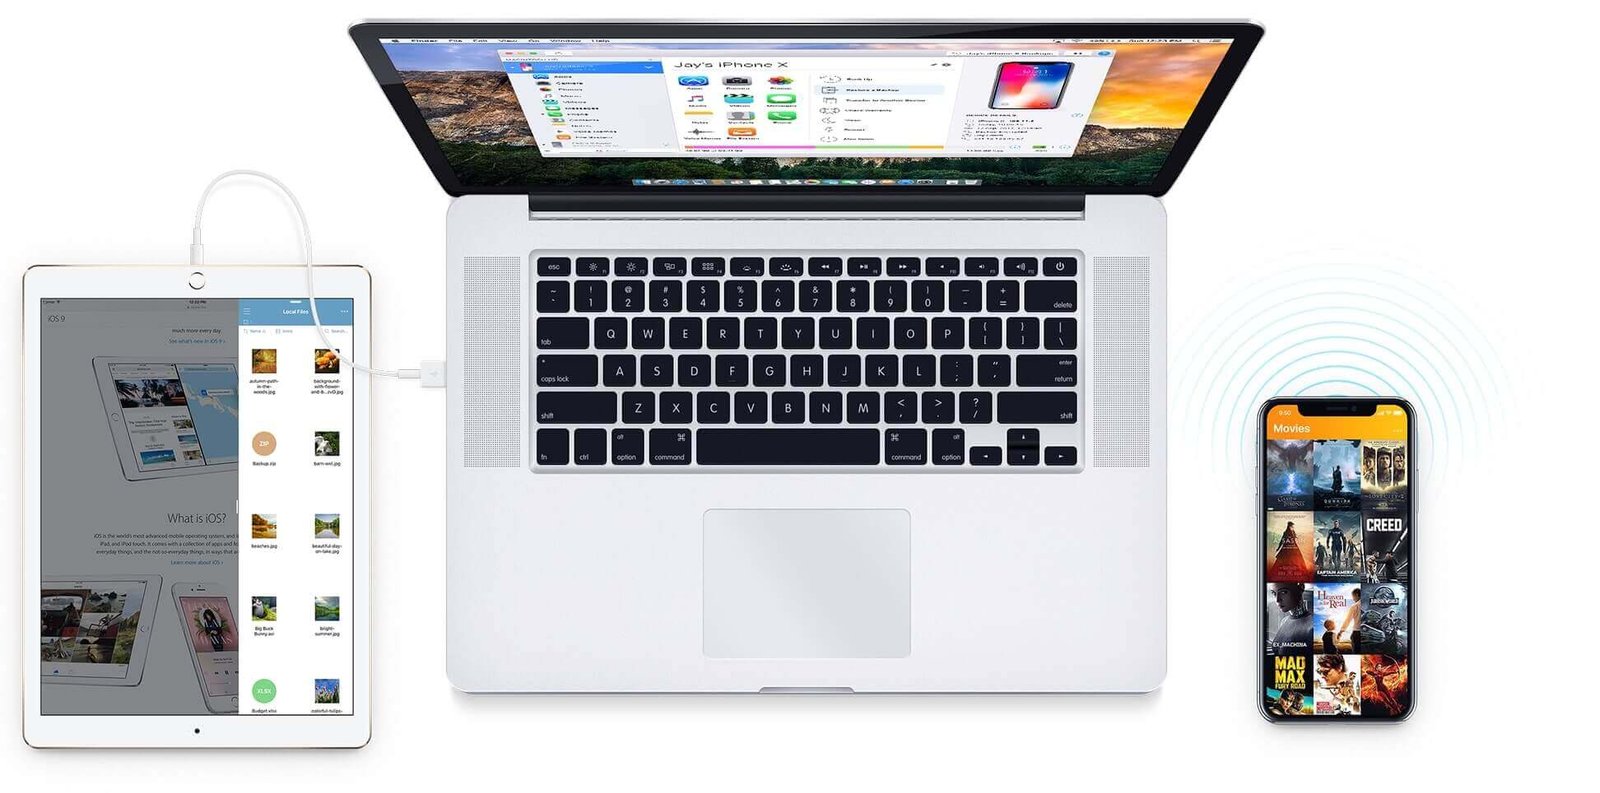
How to Transfer Files from iPhone to Mac using iPhone Transfer
Of course, not everyone loves to use iTunes or iCloud although they are using iPhone. If you want to transfer files from iPhone to Mac without iTunes or iCloud, you are supposed to try MacDeed iOS Transfer to transfer the files on iPhone.
MacDeed iOS Transfer is a powerful file manager application to transfer, sync, backup, and manage iPhone files on Mac. You can easily browse the files on your iPhone, such as the documents from File manager apps (FileApp, GoodReader, Documents, etc.), the media files from Video Players (VLC, Infuse, AVPlayer, etc.) or Voice Recorders (Quick Voice, Audio Share…), as well as the files from any other app which supports File Sharing. No iTunes/iCloud/Jailbreak requires. It is compatible with iOS 16 and iPhone 14/14 Pro/14 Pro Max.
Step 1. Download & Install iOS Transfer
Download MacDeed iOS Transfer on your Mac, MacBook Pro/Air, and iMac. After installing, launch it.
Step 2. Connect iPhone to Mac
Connect your iPhone to your Mac via a USB cable or Wi-Fi. Your iPhone will be displayed after connecting.

Step 3. Export Media Files
Select Photos or Camera on the left and choose the photos you want. Then click “Export” to export photos from iPhone to Mac.

If you want to export other files, like music, videos, voice memos, audiobooks, and more, you can also choose the media files and export them.

Step 4. Export Other Files
If you want to transfer other files from other apps, you can choose “File System” on the left, which is designed for advanced users. In the “File System”, you can export any files/folders or edit the backup files if needed.

Conclusion
Compared with these four methods mentioned, using MacDeed iOS Transfer to transfer files from iPhone to Mac would be the best way. You can transfer any files on iPhone you want, and it is very easy to use. With it, you can also back up your iPhone in one click and manage your iPhone in an easy way.