

How to recover deleted photos from the SD card on Mac? With the popularity of various cameras and smartphones, a growing number of us prefer taking lots of photos every day and storing them in devices like SD cards. However, You may delete photos and videos from the SD card by accident when you were meant to delete other files. Or maybe your naughty child somehow got his grubby little hands on your camera and nothing left.
Well, don’t panic! Here I’ll show you how to recover deleted photos from an SD card with the best data recovery software on macOS.
Contents
Why is it feasible to recover deleted photos from an SD card?
Normally, photos can be deleted by your Mac or by the camera & smartphone itself. In either case, deleted photos can typically be recovered wholly intact as long as they are not overwritten. When the photos are deleted from your Mac, they will disappear from your computer, but the contents won’t be destroyed instantly. The macOS simply marks the hard drive space as being available for use by changing a character in the file table so that the file entry won’t be displayed. Besides, when the pictures are deleted in the camera & smartphone itself, the data area would also not be erased. You can surely try to make use of some Mac SD card data recovery software to solve the problem.
What preparations are needed before recovering deleted photos from an SD card?

Before you begin, remember the following tips:
- No matter what methods you use to recover your photos from your SD card, you’d better not do anything to your SD card once you realize that the photos have been deleted. That’s to say, don’t take any more photos on the SD card or remove files from the card.
- Try to connect the camera or smartphone to your Mac and see whether the SD card can read like a separate drive or not. If not, you’re then required to remove the card and reconnect it with your Mac via a card reader.
- Choose the right data recovery software for efficient photo recovery. How to check the performance of data recovery software? Here are several main factors for your reference.
- Free Trial: To download a free trial first to see if your files are recoverable is essential.
- File Format Support: Most software supports common file formats, but they’re not workable for some uncommon formats, such as JPEG files.
- Search Tool: A good program will have a search tool that allows you to search by file type or even provide a file preview. It makes the recovery more precise and time-saving, especially when you need to recover and work on a huge amount of files.
- File System Support: If you are going to recover files from the uncommon file system, make sure that the application supports HFS+, FAT16, FAT32, exFAT, NTFS, etc.
- Removable Media Support: Pick up software that includes tools to recover CDs and DVDs that have bad sectors.
- User-friendliness: The steps of recovery should be as simple as possible with a detailed guide. Find the one that can specify the file type to get target files to save you time.
Considering all these factors, I highly recommend MacDeed Data Recovery. It’s powerful software to recover deleted photos in three simple steps: Choose the SD card – Scan – Preview and recover. What’s more, using advanced scanning technology and a directory restructuring algorithm, it can help recover deleted, formatted, or lost files of any type from virtually any storage device.
How to recover deleted photos from an SD card on your Mac?
Step 1. Download MacDeed Data Recovery and install it.
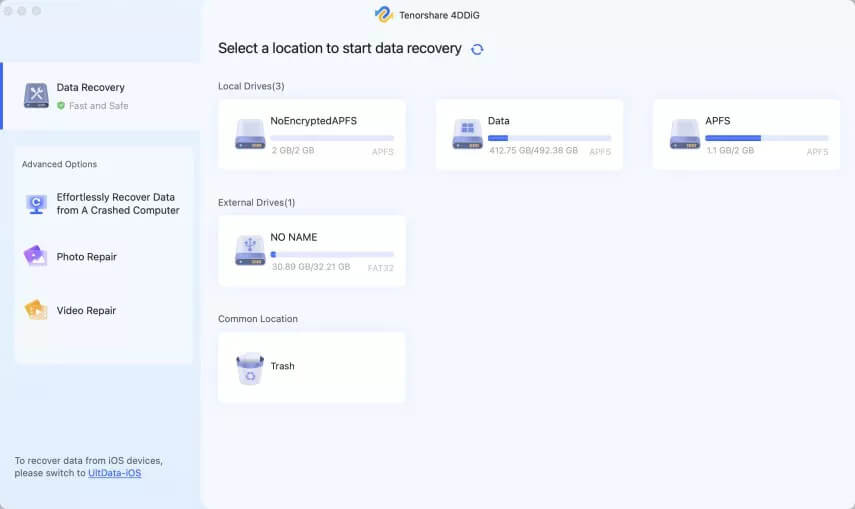
Step 2. Choose and scan your SD card.
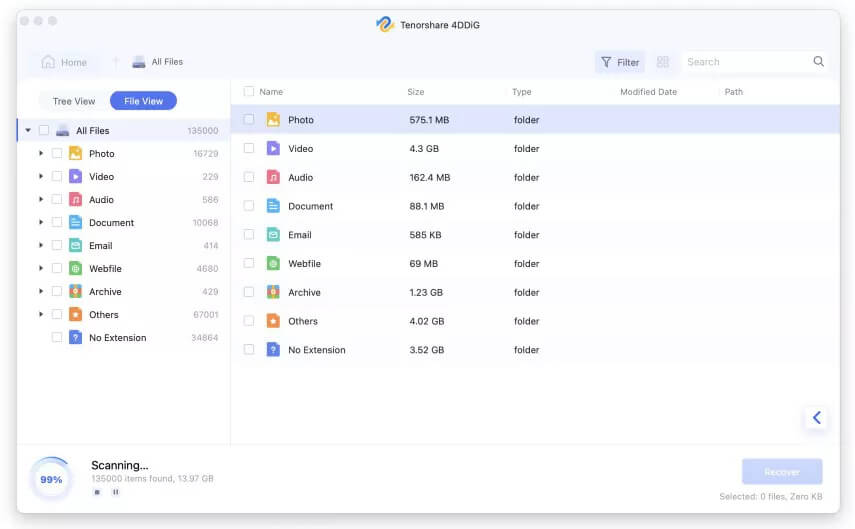
Step 3. Preview and complete the recovery. When the scanning process is finished, all the deleted photos will be listed and you can click on the file name to preview the details. You can then easily find the needed pictures and click “Recover” to get it recovered in seconds. After repairing, you can choose photos to preview and then click Export to save them to a safe location. And now your damaged photos have been repaired successfully.

That’s all. Quite easy, isn’t it? Have a try!