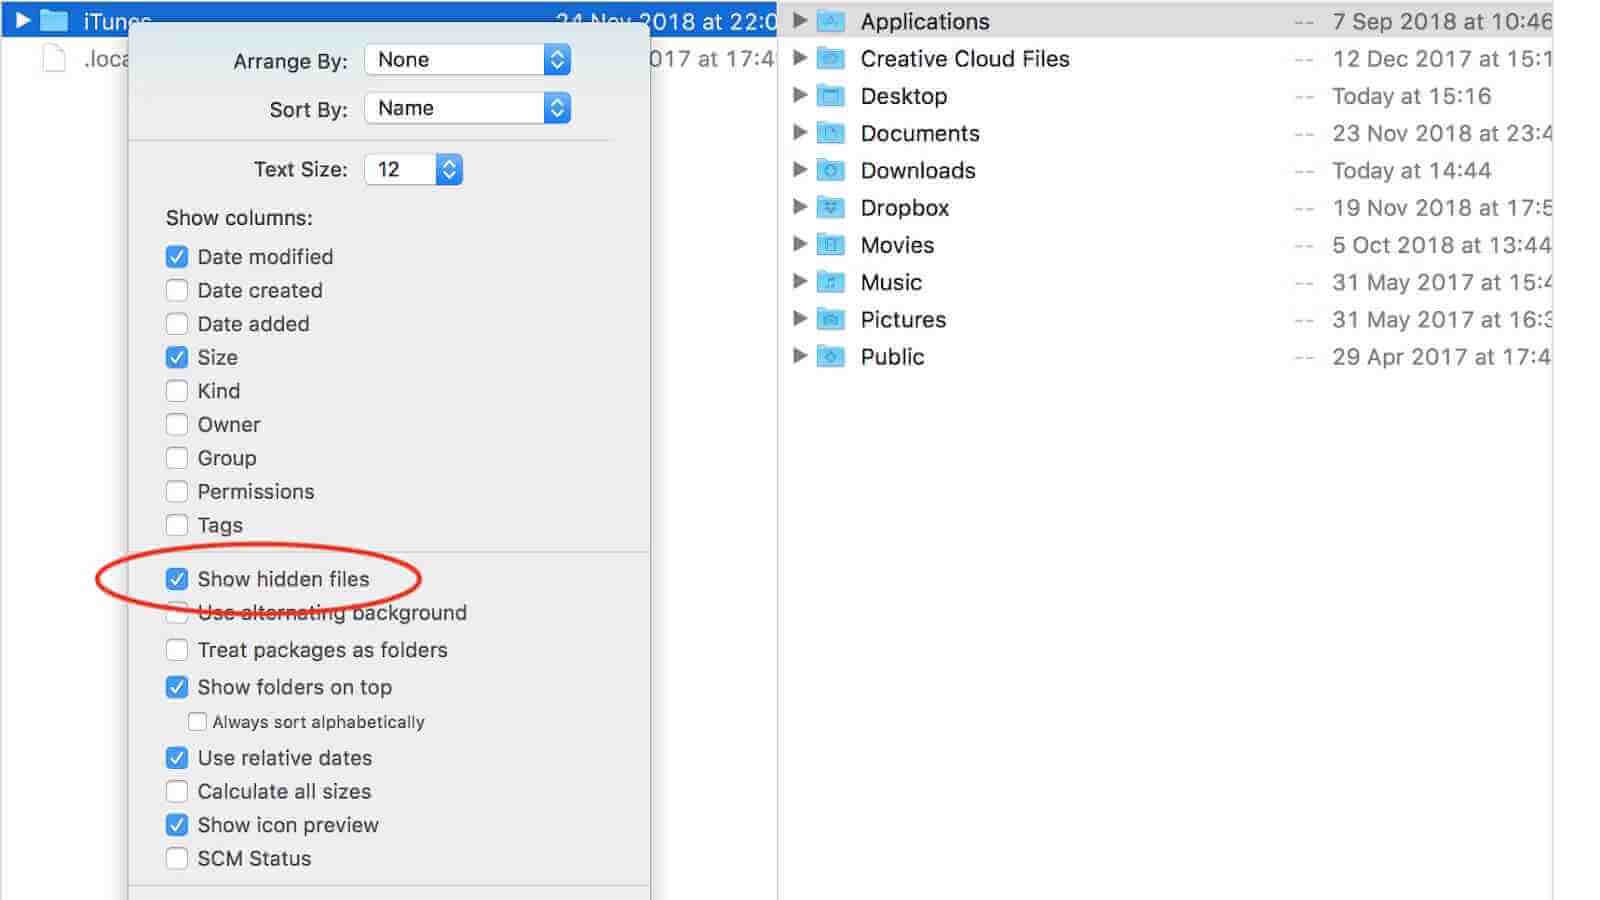
macOS is highly protected from being damaged by inaccurate operations and there are many system files and folders hidden by default on your Mac. Sometimes you need to access these files. So in this guide, I will show you how to show hidden files on Mac in three ways and how to recover accidentally deleted hidden files on Mac.
How to show Hidden Files on Mac via Terminal
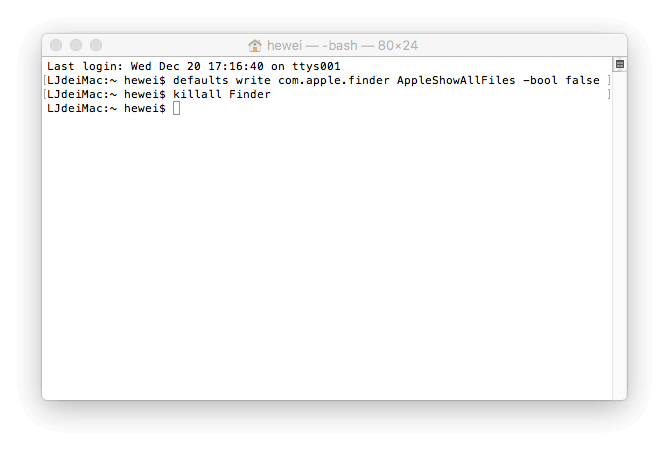
Terminal Command can help you show hidden files on Mac and hide them again for protection. Follow the below steps to operate.
Step 1. Open Terminal, then copy and paste the following command into the Terminal window: defaults write com.apple.finder AppleShowAllFiles -bool true. Press Enter.
Step 2. Then write “killall Finder” into the terminal window and press Enter. And you will see hidden files and folders in the Finder.

If you want to hide them again, then repeat the operation but change the command from the last word “true” to “false”. Then all system files and folders will be hidden again.
How to Show Hidden Files on Mac via AppleScript
AppleScript can also allow you to show hidden files on Mac. It can make viewing hidden files on Mac quicker and easier.
Step 1. Open AppleScript. Then copy and paste the following code into the editor’s window:
display dialog “Show all files” buttons {“TRUE”, “FALSE”}
set result to button returned of result
if the result is equal to “TRUE” then
do shell script “defaults write com.apple.finder AppleShowAllFiles -boolean true”
else
do shell script “defaults delete com.apple.finder AppleShowAllFiles”
end if
do shell script “killall Finder”
Step 2. Click the red Play button and select “TRUE” to show hidden files on Mac.

Please save the file and use it whenever you need to hide or unhide files and folders on Mac.
How to Show Hidden Files on Mac via Funter
Funter is a free third-party app that allows you to show hidden files on Mac and switch their visibility in Finder in two clicks. It also can manage files including searching, copying, moving, or removing files and folders.
Though it is totally free, it contains ads. Be aware of the reference to other software when using this app. You can download it for free on its official website and follow the guide below to show hidden files on Mac.
Step 1. Open Funter and you will see the Funter icon in the menu bar. Click the icon.
Step 2. Turn on “Show Hidden Files” and after seconds, your hidden files will appear. If you want to hide them, turn off “Show Hidden Files”.

How to Recover Lost and Deleted Hidden Files on Mac
You might feel confident that you know what you are doing on your Mac, but there are plenty of Mac users who could cause damage or data loss. When your hidden files appear, it’d be more likely that you might accidentally delete them which could cause system-wide problems. Don’t worry! You can recover them by using third-party data recovery software like MacDeed Data Recovery.
MacDeed Data Recovery is one of the best data recovery software for Mac users to recover photos, documents, videos, music, archive, and other files from Mac internal & external drives, memory card, MP3 player, USB drives, digital cameras, etc. Download it for free now and have it a try.
Step 1. Open MacDeed Data Recovery on Mac.
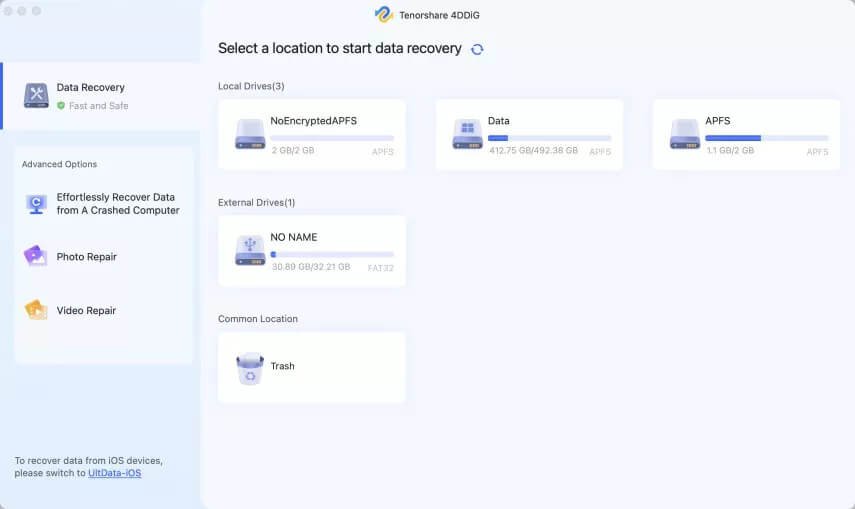
Step 2. Choose the location where lost hidden files were originally stored. Then click “Scan”.
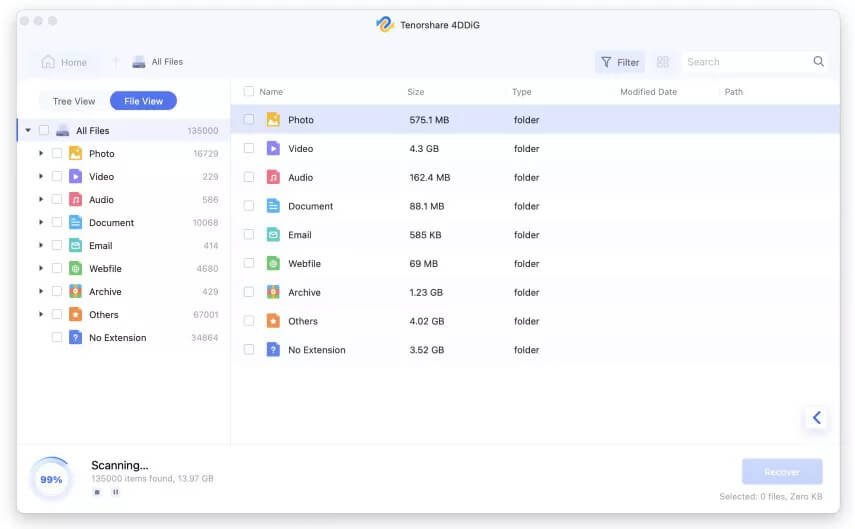
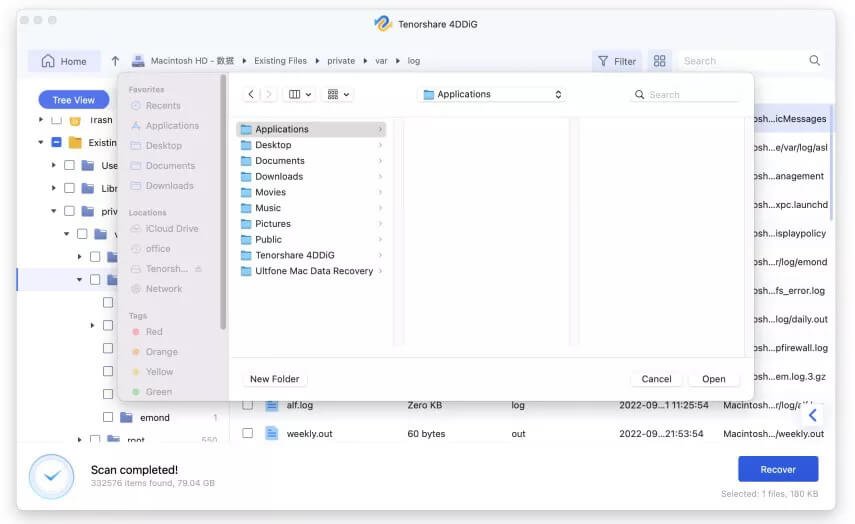
Step 3. After this app finishes scanning, it will show all found files. Click each file to preview the details. Select the files you want to restore and click “Recover” to save them on another device.
In all, if you are a Mac Novice, you’d better use Funter to show hidden files on Mac. And be careful when dealing with unhidden system files.

