It is possible to have a number of messages on your iPhone from someone that you have recently blocked. This person may not be able to send you any new messages and if there are any old messages from them, you will not be able to read them.
If you must access these blocked messages, the solutions in this article will be very helpful to you.
Part 1. Can You Retrieve Blocked Messages on iPhone?
The simple answer to the question is, NO. Once you have blocked someone from your contact list, you will not receive any calls or messages from them. And unlike Android devices, the iPhone doesn’t have a “blocked folder” to help you recover these messages.
There are some ways that you can use data recovery to try and get the messages back on the device and these are the type of solutions that we will be focusing on here.
Part 2. How to Retrieve Blocked Messages on iPhone (Free)
The following are some of the solutions that you can try to get your blocked messages back:
1st Method. Restore from iCloud Backup
If you have turned on the automatic backup in iCloud, you can restore the data (along with the messages) back onto your iPhone to get them back.
To restore the iPhone from an iCloud backup, you will need to first erase the device.
Go to Settings > General > Reset > Erase All Content and Settings and when the device restarts, follow the on-screen prompts to set up the device before choosing “Restore from iCloud Backup” to retrieve your data.

2nd Method. Restore from iTunes Backup
In much the same way, you can restore an iTunes backup to retrieve the blocked messages. But this method will only work if you have a recent iTunes backup of all the data on your iPhone.
To restore the device via iTunes, connect the device to the computer and then click “Restore” before choosing the backup you would like to use. Keep the device connected to the computer until the process is completed.

3rd Method. Retrieve Blocked Messages on iPhone without Backup
If you don’t have a backup on iTunes or iCloud, then the only solution left to you is a data recovery program. With a good data recovery program like MacDeed iPhone Data Recovery, you can recover nearly all types of data including contacts, videos, messages, call history, voice memos, and more even if you don’t have a backup.
To use MacDeed iPhone Data Recovery to retrieve the blocked messages on your iPhone without a backup, download and install the program on to your computer and then follow these simple steps:
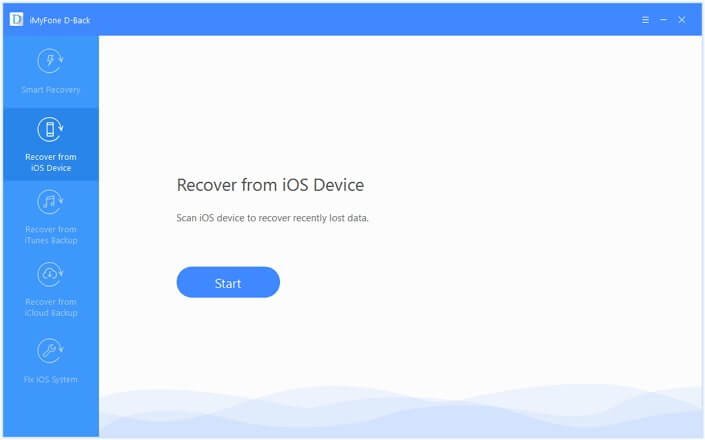
Step 1: Open MacDeed iPhone Data Recovery onto your computer and then connect the iPhone using the device’s original lightning cable. The program should detect the device. Select “Recover from iOS device” and then click “Scan”.

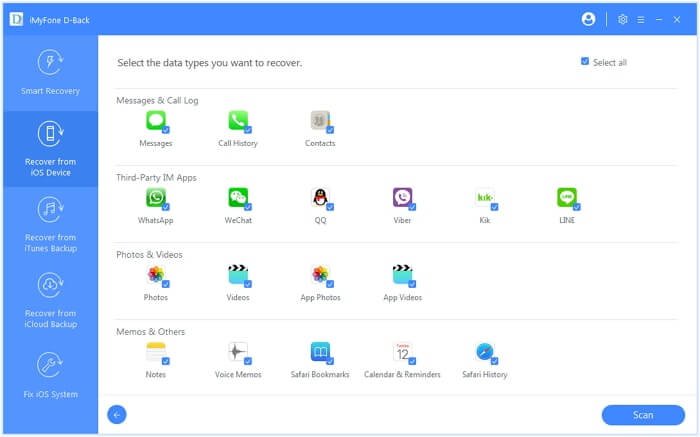
Step 2: MacDeed iPhone Data Recovery will begin scanning the device for all the data on it, both deleted and existing. Depending on the amount of data on the device, the scanning process may take some time.

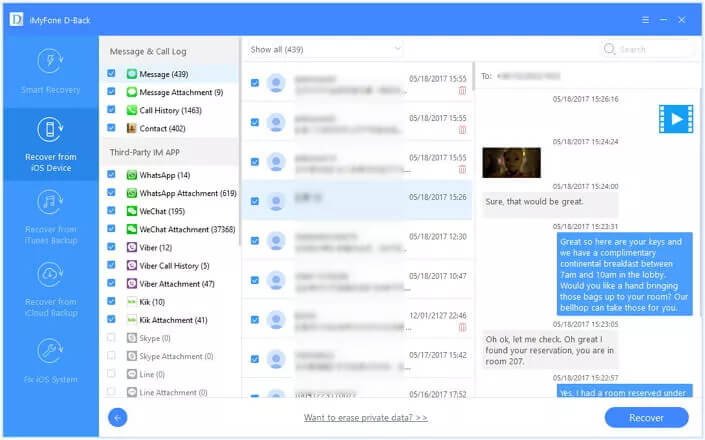
Step 3: When the scan is complete, the program will display all the data on your iPhone, including some of the data that may have been deleted. Click on “Messages” to see all messages (both deleted and existing). You can click on a file to preview it and then choose the messages that you would like to recover and click “Recover” to save the messages to a specified folder on your device.

To increase the chances that you will recover the messages, it is important to stop using the device as soon as you discover they are missing. This will prevent the messages from being overwritten, making it easier to retrieve them.

